
DIY Plant Wall With IKEA Faux Plants
With everything going on in the world with the Coronavirus, I used this weekend as a time to complete a project I’ve been planning since before Christmas. Introducing my new faux plant wall!
The reason this project took so long is because I originally wanted to cut slats of wood to put behind the planters in a fun pattern. But, after some consideration, I realized that would be adding in way too many different wood tones to the space.
Here’s what I started with. This area has a decent amount of upper wall space but a lot going on down below with the cutout and rainings.

Let me paint a quick picture of this dining/kitchen space: The kitchen cabinets are wooden, with a different wood laminate floor, a butcher block top on our island, and let’s not forget the stained wooden table and chairs. See, it already had too much going on.
My second idea was to use the leftover gray paint from the downstairs living room and just paint stripes across the wall. But looking at the space, I decided I didn’t want anything going on above the stairs.
So, let’s dive right in to how to hang the planters that create this faux plant wall!
Step 1: Map out the design

This is a quick sketch I created to experiment with the layout and possibly painting the lines on the wall. (I was also experimenting with a painted circle.)
Step 2: Find the studs

Using my handy-dandy stud finder, I determined which plant holders would go directly into the studs and which would need anchors.
Step 3: Position the plant holder, make sure it’s level, and mark the holes

Use a level on the side of the wall mount to make sure the fixture is level. Then, trace the holes with a pencil.
Step 4: Find the right bit for the screw

When finding a bit, hold up the screw in front and choose a size that does show on the threads of the screw.
Step 5: Drill the holes

Keeping the drill straight, apply pressure and drill into the wall. Keep the drill going as you pull the bit out as well.
If you did not hit a stud, find a bit that is the correct size for your anchors and drill in those same holes. Either screw in the anchors or use a hammer (depending on the type of anchor).

Step 6: Attach to the wall using screws

Before you tighten in the screws, make sure you’re still level.

Step 7: Add the flower pot and real (or fake) plants

I used some of my many IKEA faux plants because they are easy to take care of (obviously, they’re fake) and I was a little nervous about water draining out of the flower pot hole. If you wanted to use real plants, I would recommend flower pots without a drainage hole but adding in some rocks on the bottom of the pot to prevent overwatering.

Repeat steps 1 - 7

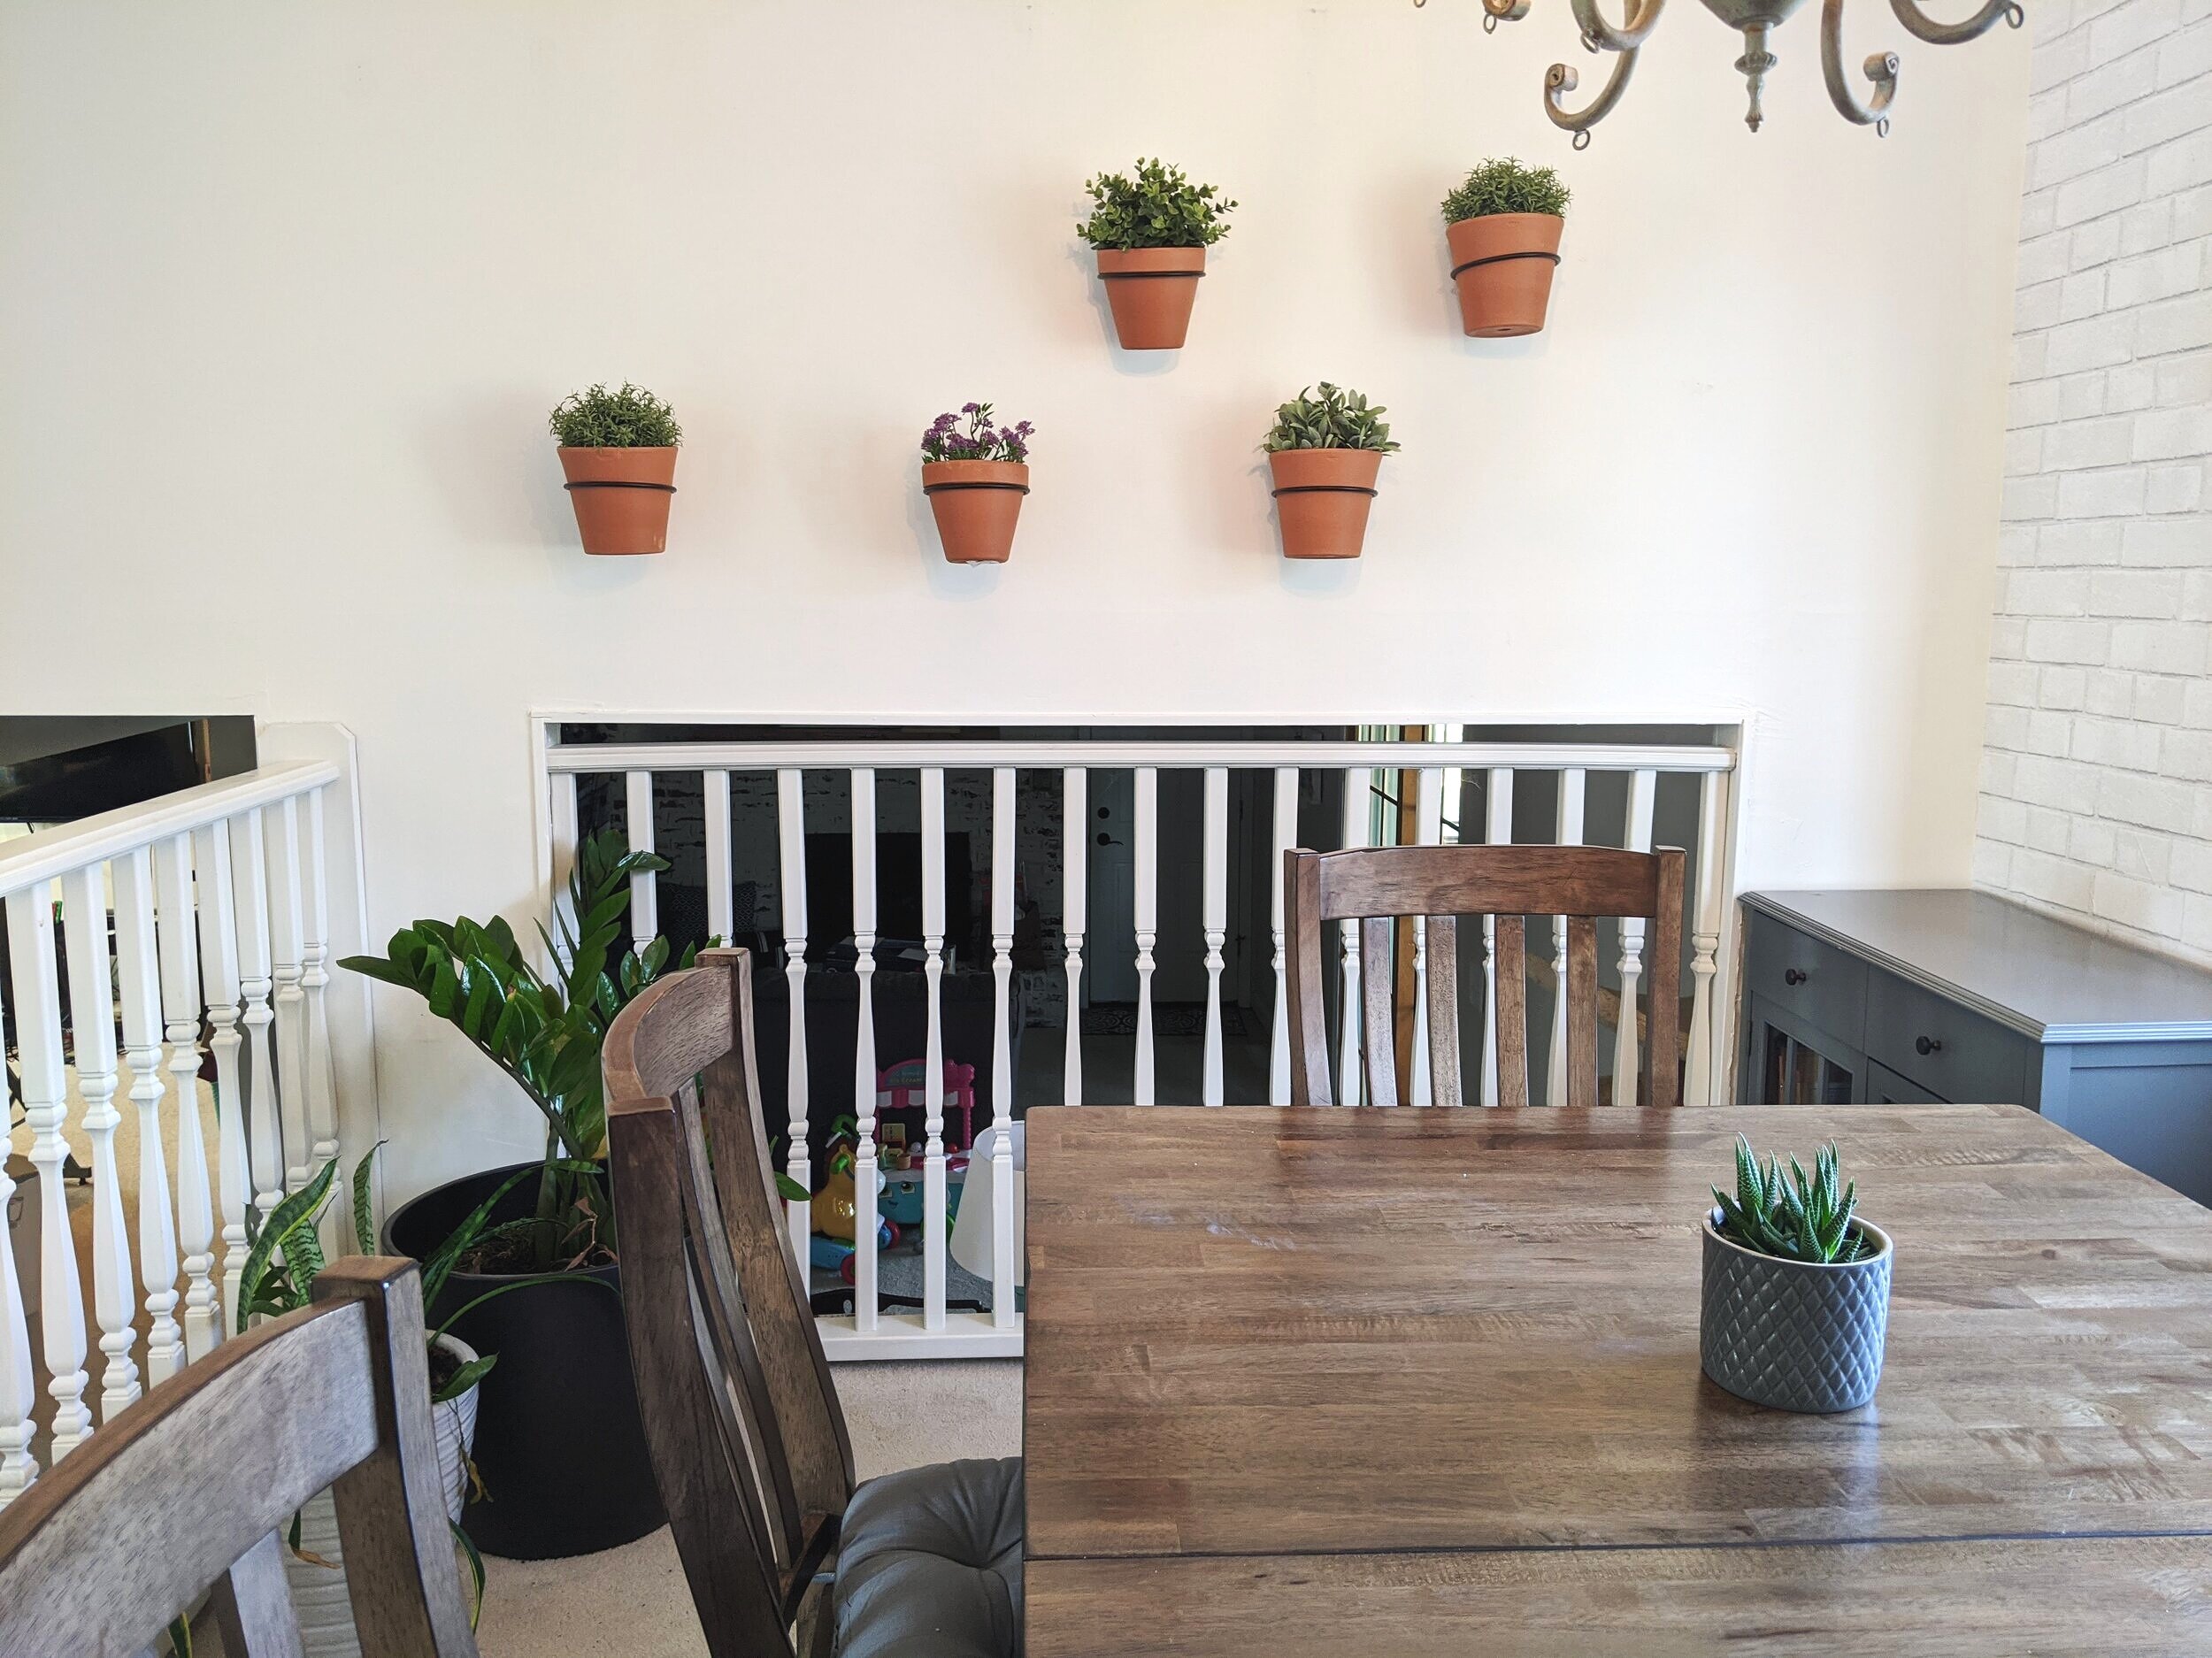
I absolutely love the look of these terracotta pots against the white walls and brick wallpaper. These flower pots were from Big Lots but when I went to buy two more, they were all out. So, I snagged some traditional looking pots from Home Depot instead.
The hanging plant rings were a gift but I’ve also seen them on Amazon and at Home Depot. Just be sure the ring size matches the flower pot diameter.


Hope you enjoyed this distraction during a crazy week and I hope this brought you a little joy. This wall makes me smile every time I see it.
Happy DIYing!